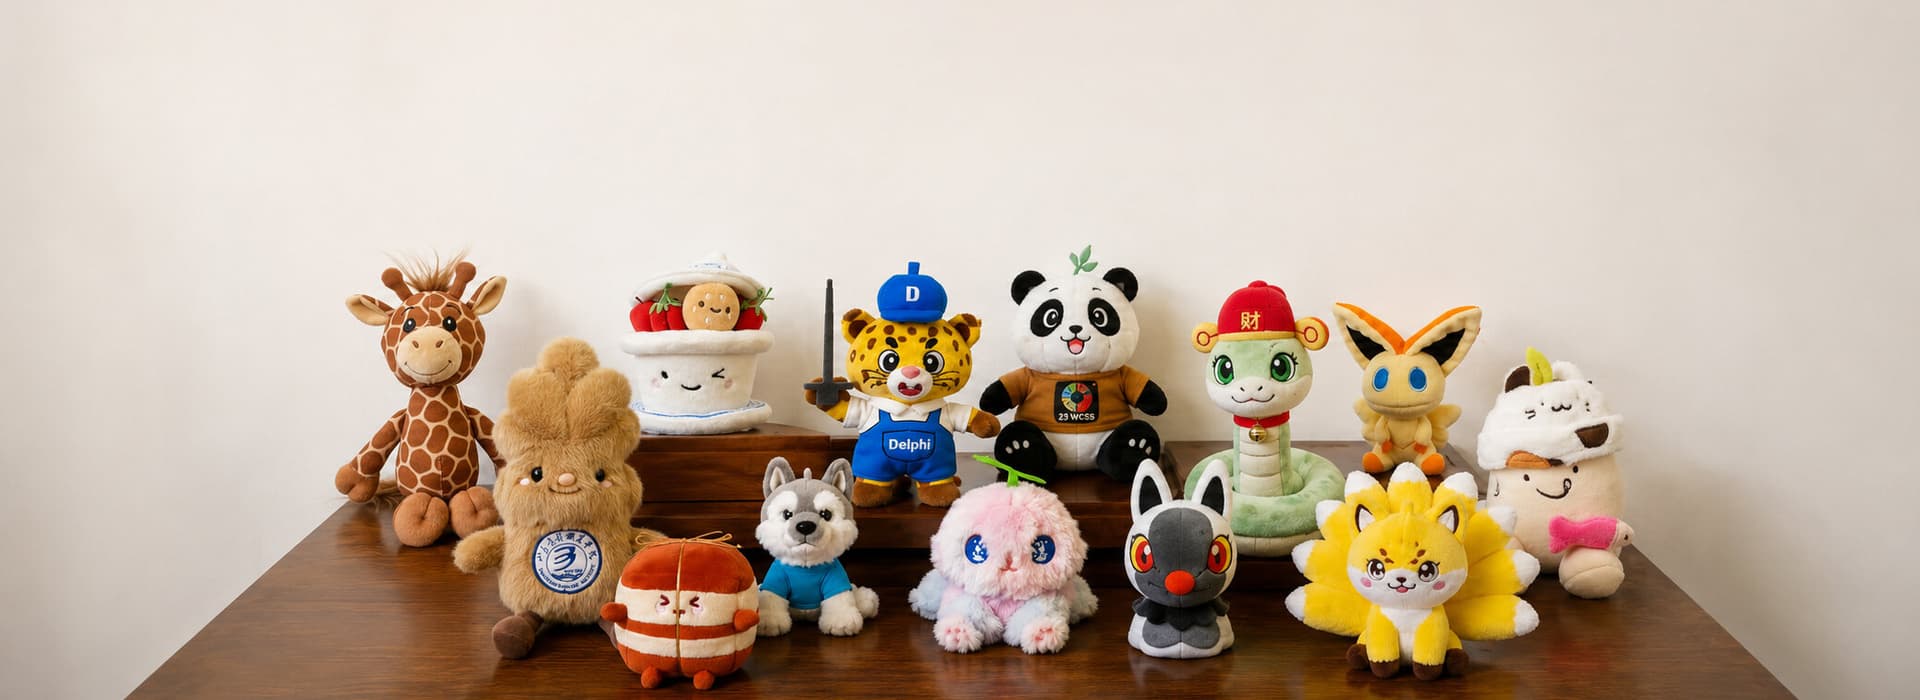
Outside the industry, the custom-plush manufacturing process is treated like a black box: you send a sketch, eight weeks later cartons land at your warehouse. Inside the workshop, those eight weeks split into eight distinct steps, each with its own crew, its own machines, and its own ways to go wrong. Knowing the steps doesn't just satisfy curiosity — it gives you exact moments to intervene, ask questions, and catch problems early.
I'm writing this with photos from our actual Shenzhen workshop and a video clip of the production floor. Other factories will run the same 8 steps slightly differently — the principle is universal. By the end you should be able to walk a production line and know what should be happening at every station.
The 8 steps, mapped to a calendar
Here's the whole process compressed into a single flowchart with realistic timing for a 5,000-unit retail run. Click any step in the table below to jump straight to it.
| Step | What happens | Time | Your job |
|---|---|---|---|
| 1. Brief | Sketch + spec turned into manufacturable brief | 2-4 days | Reply fast to clarifying questions |
| 2. Pattern | 2D flat pieces engineered from the 3D concept | 3-5 days | Approve seam choices |
| 3. First sample | Hand-sewn first physical sample | 5-7 days | Receive sample, run 9-point test |
| 4. Iteration | 1-3 rounds of refinement | 5-10 days | Mark up exactly what to change |
| 5. Bulk cut | Fabric ordered, dyed, cut to spec | 5-7 days | Sign off dye-lot swatch in person if possible |
| 6. Sew + assemble | Bulk sewing, embroidery, accessory attach | 10-15 days | Mid-production photo check at 25% complete |
| 7. Stuff + QC | Stuffing, finishing, 3-stage QC | 5-7 days | Pre-shipment inspection (own staff or 3rd-party) |
| 8. Pack + ship | Polybag, master carton, freight | 2-3 days domestic + 12-30 days sea | Lock Incoterms, watch loading photos |
| TOTAL | From PO to delivered carton | 8-10 weeks | Active engagement at sample + cut + ship |
Step 1 — Brief and concept sketch
The whole process starts with whatever artwork you can send. A polished character bible is great; a child's pencil sketch on a napkin is also fine — we've worked from both. What we actually need before we can pattern anything:
- One or two views. Front and side is the minimum. Three-quarter is a bonus.
- Approximate size. Even "about as big as a soda can" is enough to start. We'll firm it up.
- Pantone color codes for every distinct color on the character.
- Required accessories: embroidery on chest, applique eyes, attached hangtag, weighted feet, sound module, etc.
- Safety regime: 0-3 baby, 3-8 kids, or 8+ adult/collector. This locks fabric options early.
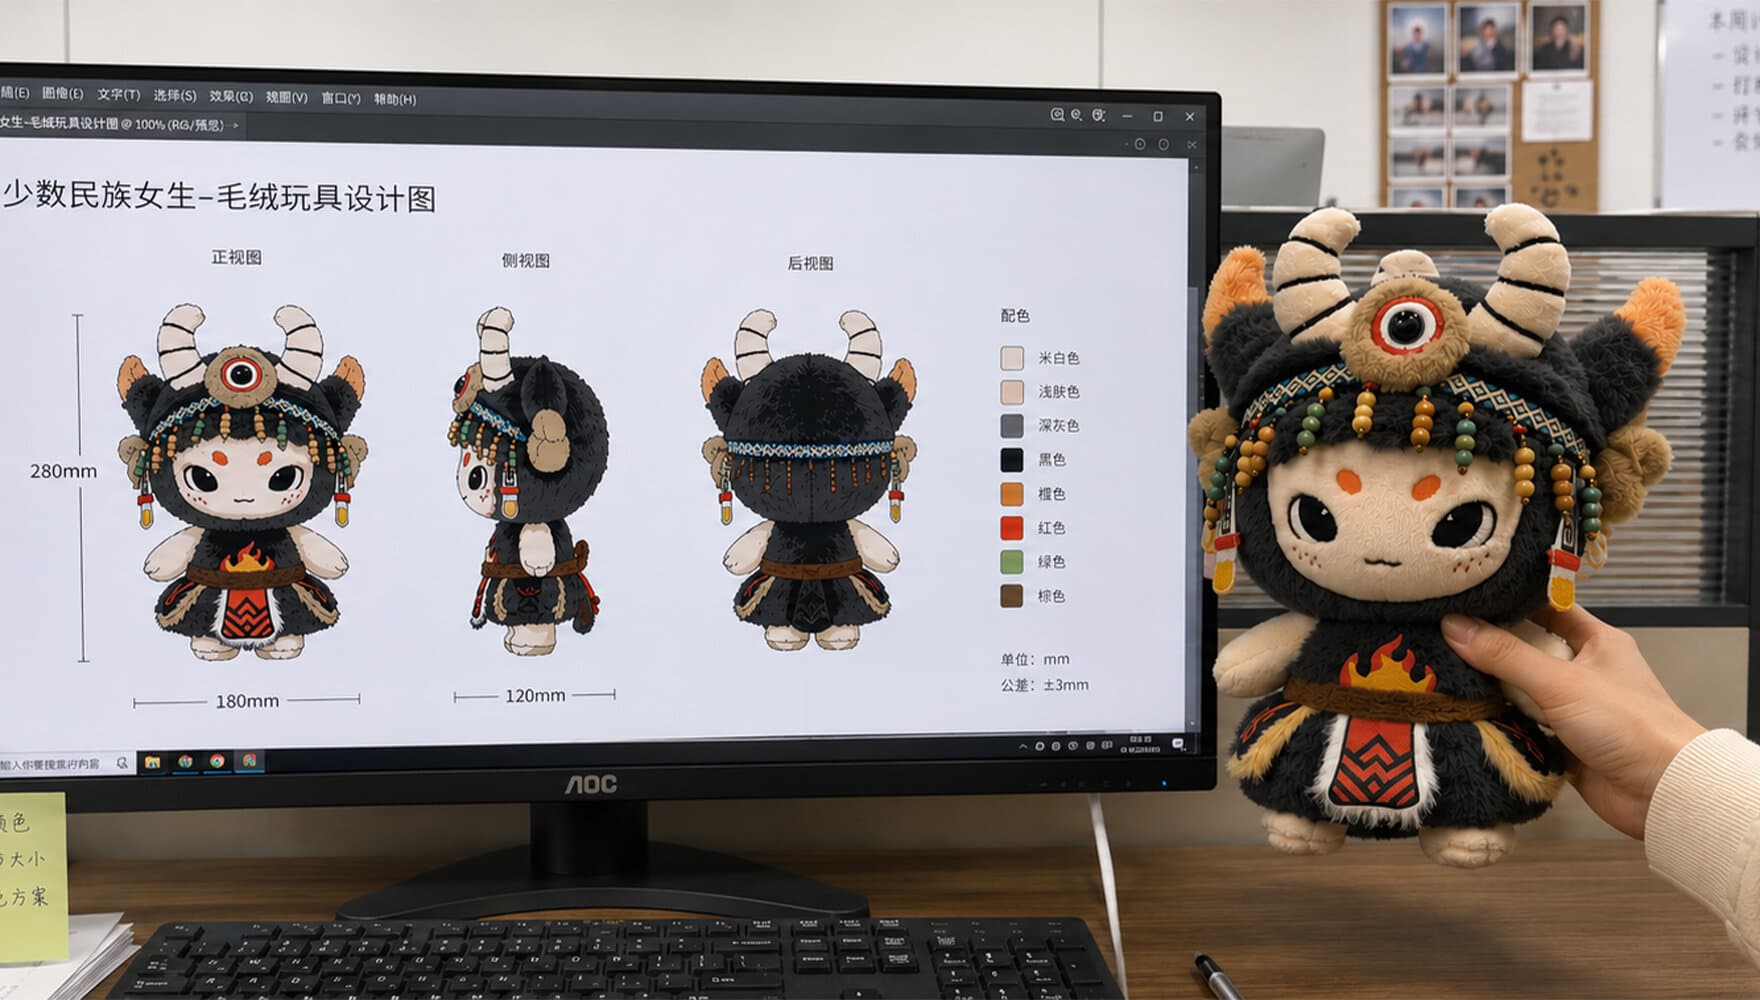
Step 2 — Flat-pattern engineering
A pattern-maker converts the 3D concept into flat 2D pieces that, when sewn together with seam allowance and stuffed, return to the 3D form you sketched. This is the single most skill-dependent step in the whole process. A great pattern-maker turns out a 90% accurate first sample; a mediocre one turns out a 60% sample and you spend two extra iterations chasing what should've been right from the start.
Standard plush patterns range from 8 pieces (a simple bunny) to 30+ pieces (a complex character with multiple limbs, separate face panel, accessory pockets). Each piece is engineered with:
- Seam allowance: 5-6mm standard, 4mm for tight curves, 8mm for high-stress seams like underarms.
- Pile direction arrows on every piece so the cutting team aligns the nap consistently.
- Pivot points and notches marked, so sewers know exactly where to align mating edges.
- Stuffing opening location — usually under an arm or at the bottom seam, hidden after closing.
Step 3 — Hand-sewn first sample
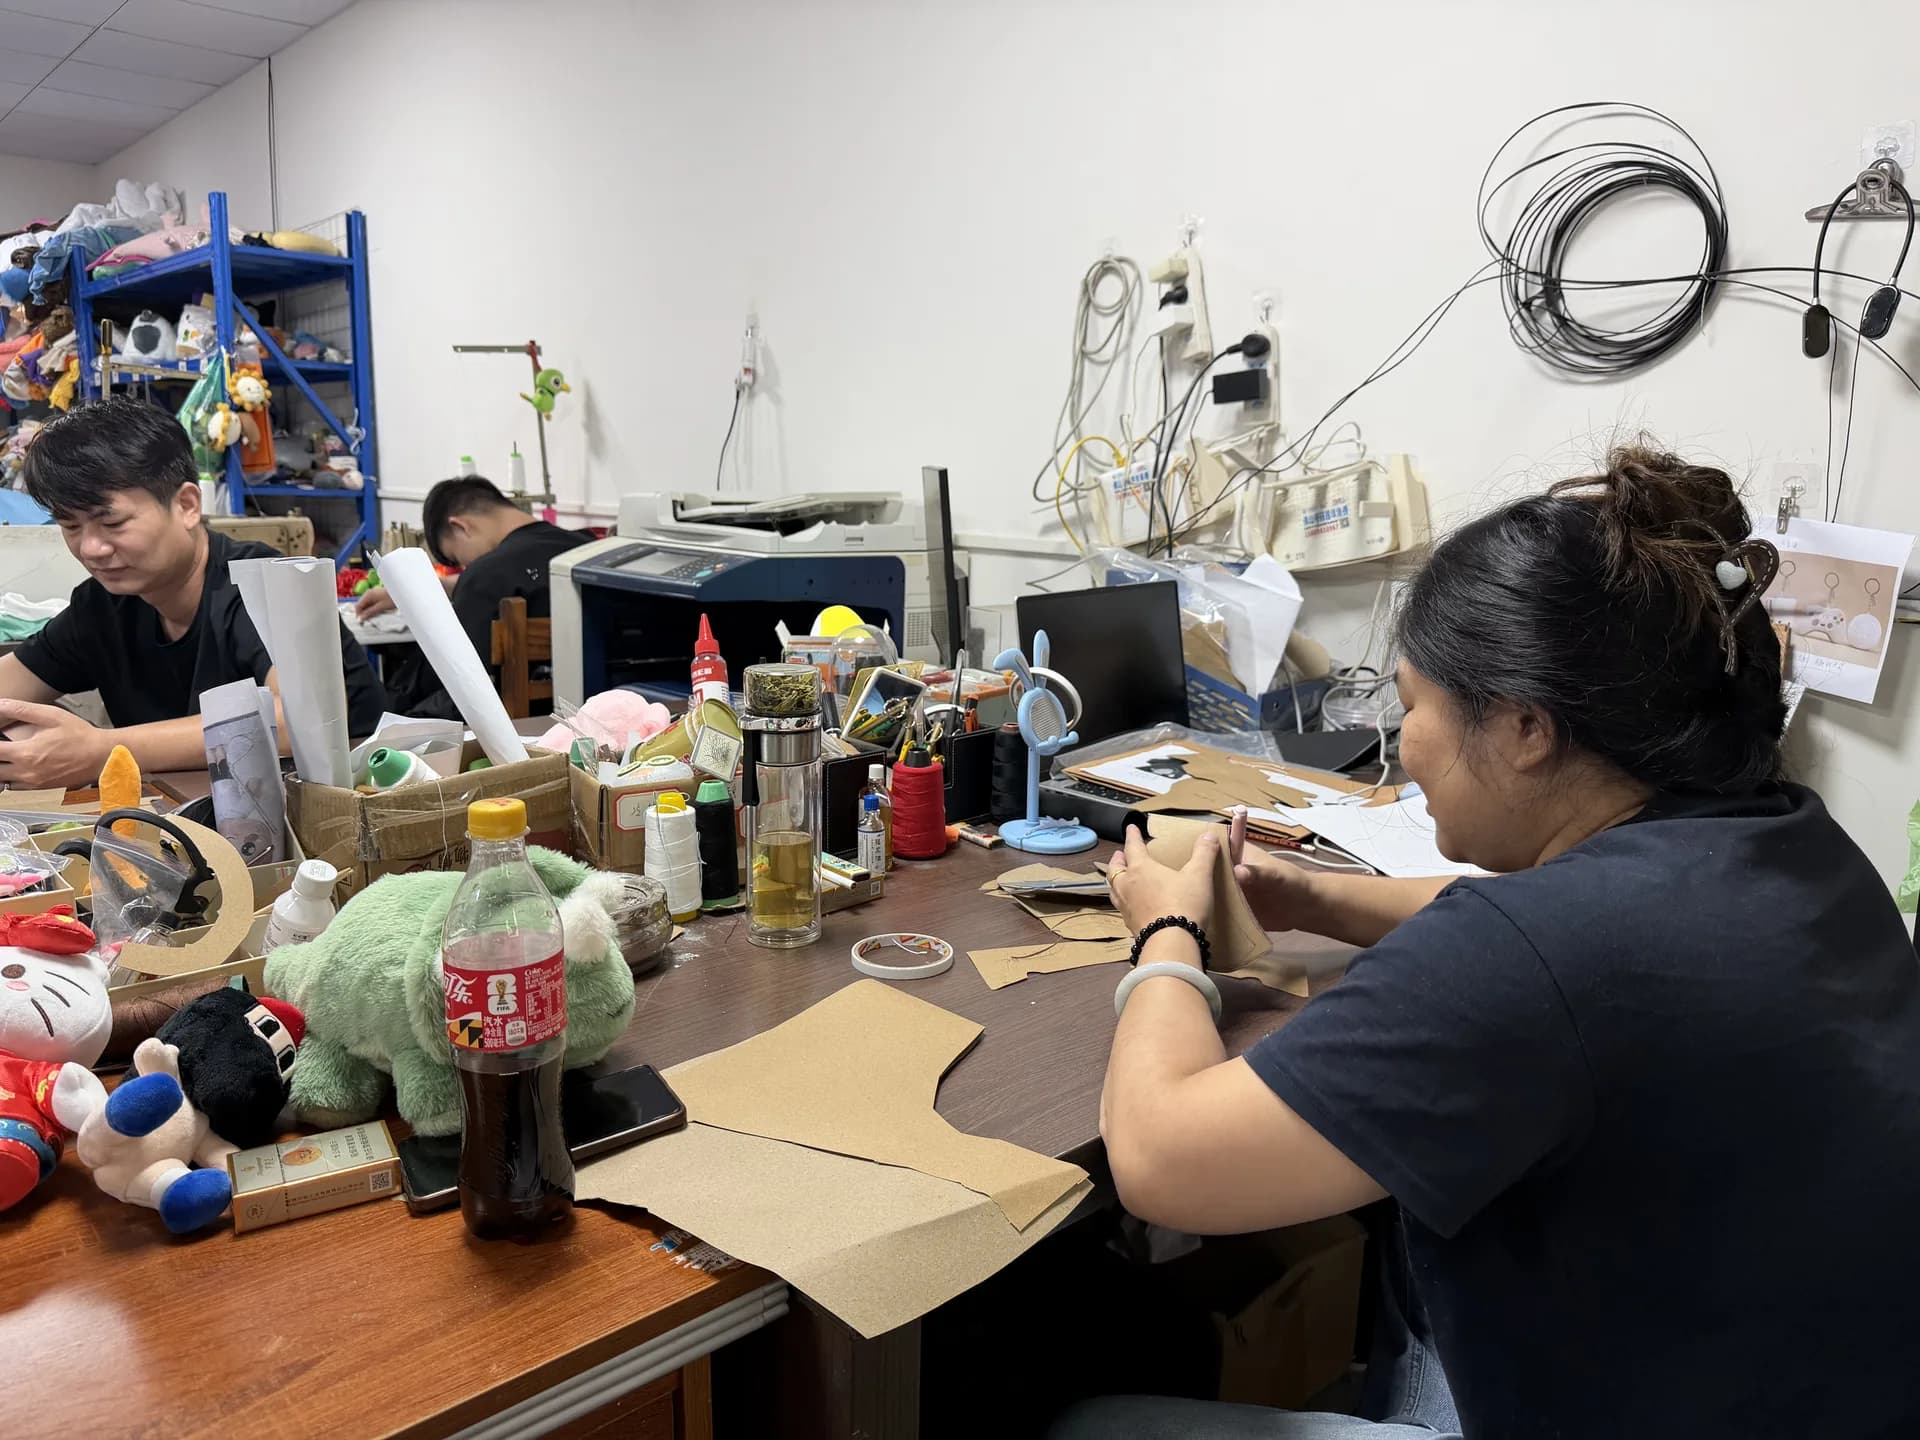
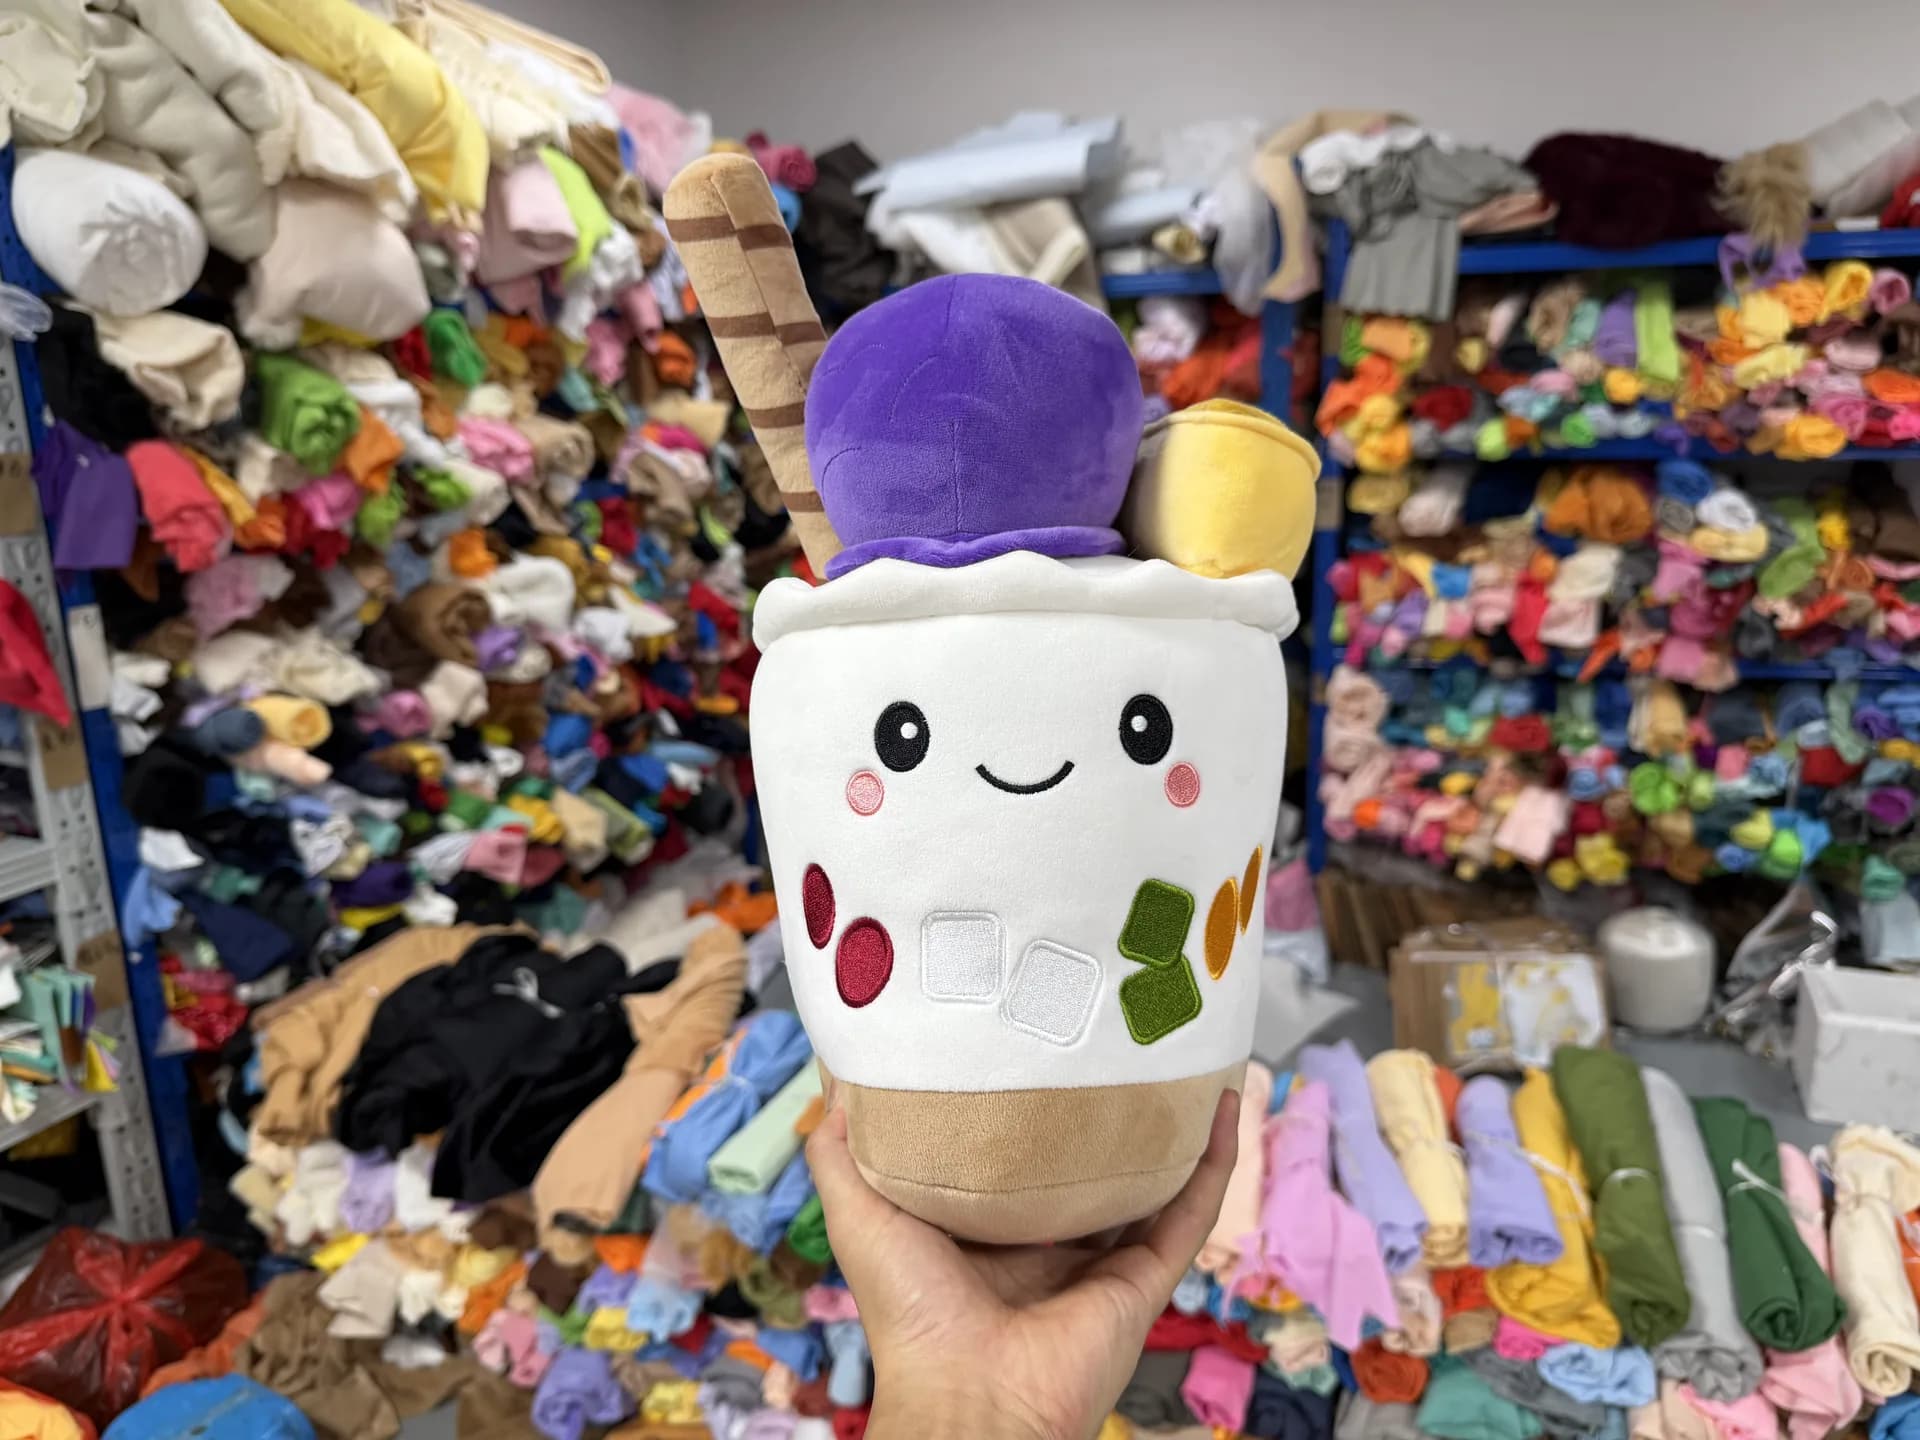
A senior sewer takes the pattern pieces and assembles one unit entirely by hand and machine — no bulk-production shortcuts. This is the moment of truth: the 2D pieces become a 3D plush for the first time. The sample is photographed under multiple light conditions, measured against the spec sheet, and shipped to you by DHL.
We charge $80-$250 for this sample depending on complexity. Deducted from your PO once you place a bulk order. A free-sample factory is almost always cutting corners somewhere — usually using a different (less skilled) sewer or a different (less senior) pattern-maker than the one who'll handle bulk.
Step 4 — Sample iteration
Almost no first sample is approved as-is. The typical project goes through 2-3 sample iterations. Common changes between iterations:
- Head proportions — most often the head needs to be larger relative to the body (mascot proportions, not realistic).
- Embroidery refinement — eye placement is the biggest culprit; 2mm off feels "wrong" even if you can't articulate why.
- Limb angle / pose — patterns are static, but adjusting the angle at which a limb attaches changes the character's feel.
- Pile direction adjustments — sometimes nap needs to flip on the head panel for the character's expression to read right.
Step 5 — Bulk cutting
Once the sample is signed off, the bulk fabric is ordered from the mill, dyed to the locked Pantone, and inspected on arrival. Two checks happen on arrival: dye-lot consistency (we lay the new bolt next to the approved swatch under D65 daylight) and pile-direction uniformity. Any roll that's off goes back.
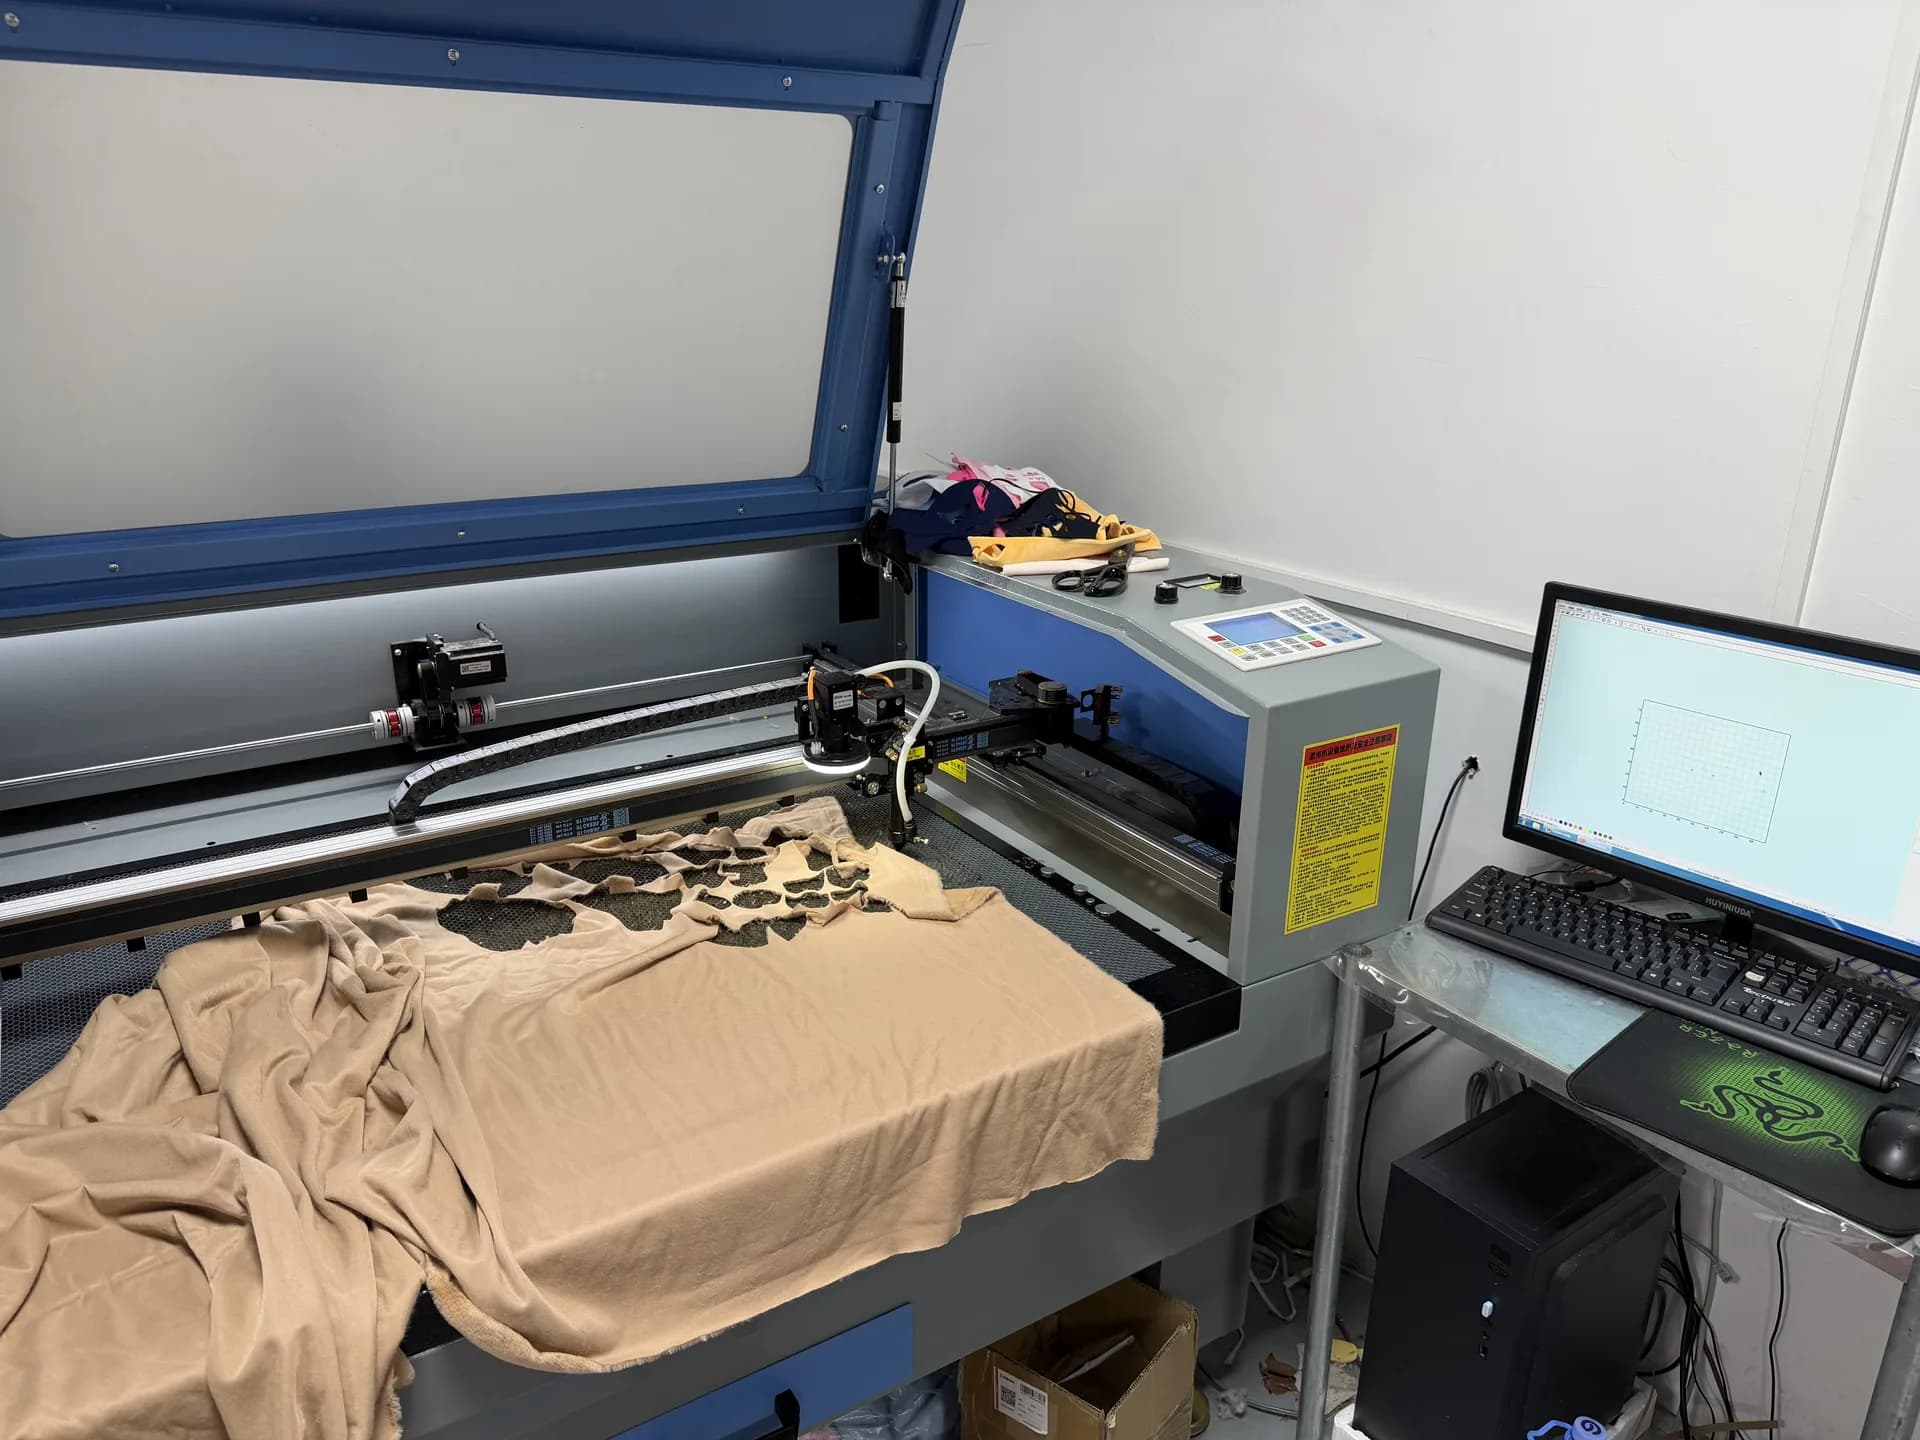
Cutting happens on a digital cutting bed (CNC) for high-volume jobs and by hand-knife for premium long-pile fabrics. Each bolt is laid down with the pile direction marked, the pattern pieces are nested for minimum waste, and the machine cuts everything in one pass. Typical cutting waste:
- Short-pile (PV, bouclé, minky): 8-10%
- Mid-pile (corduroy, vintage teddy): 10-14%
- Long-pile (faux fur, Tuscany, Mongolian): 15-22%
Step 6 — Sewing and assembly
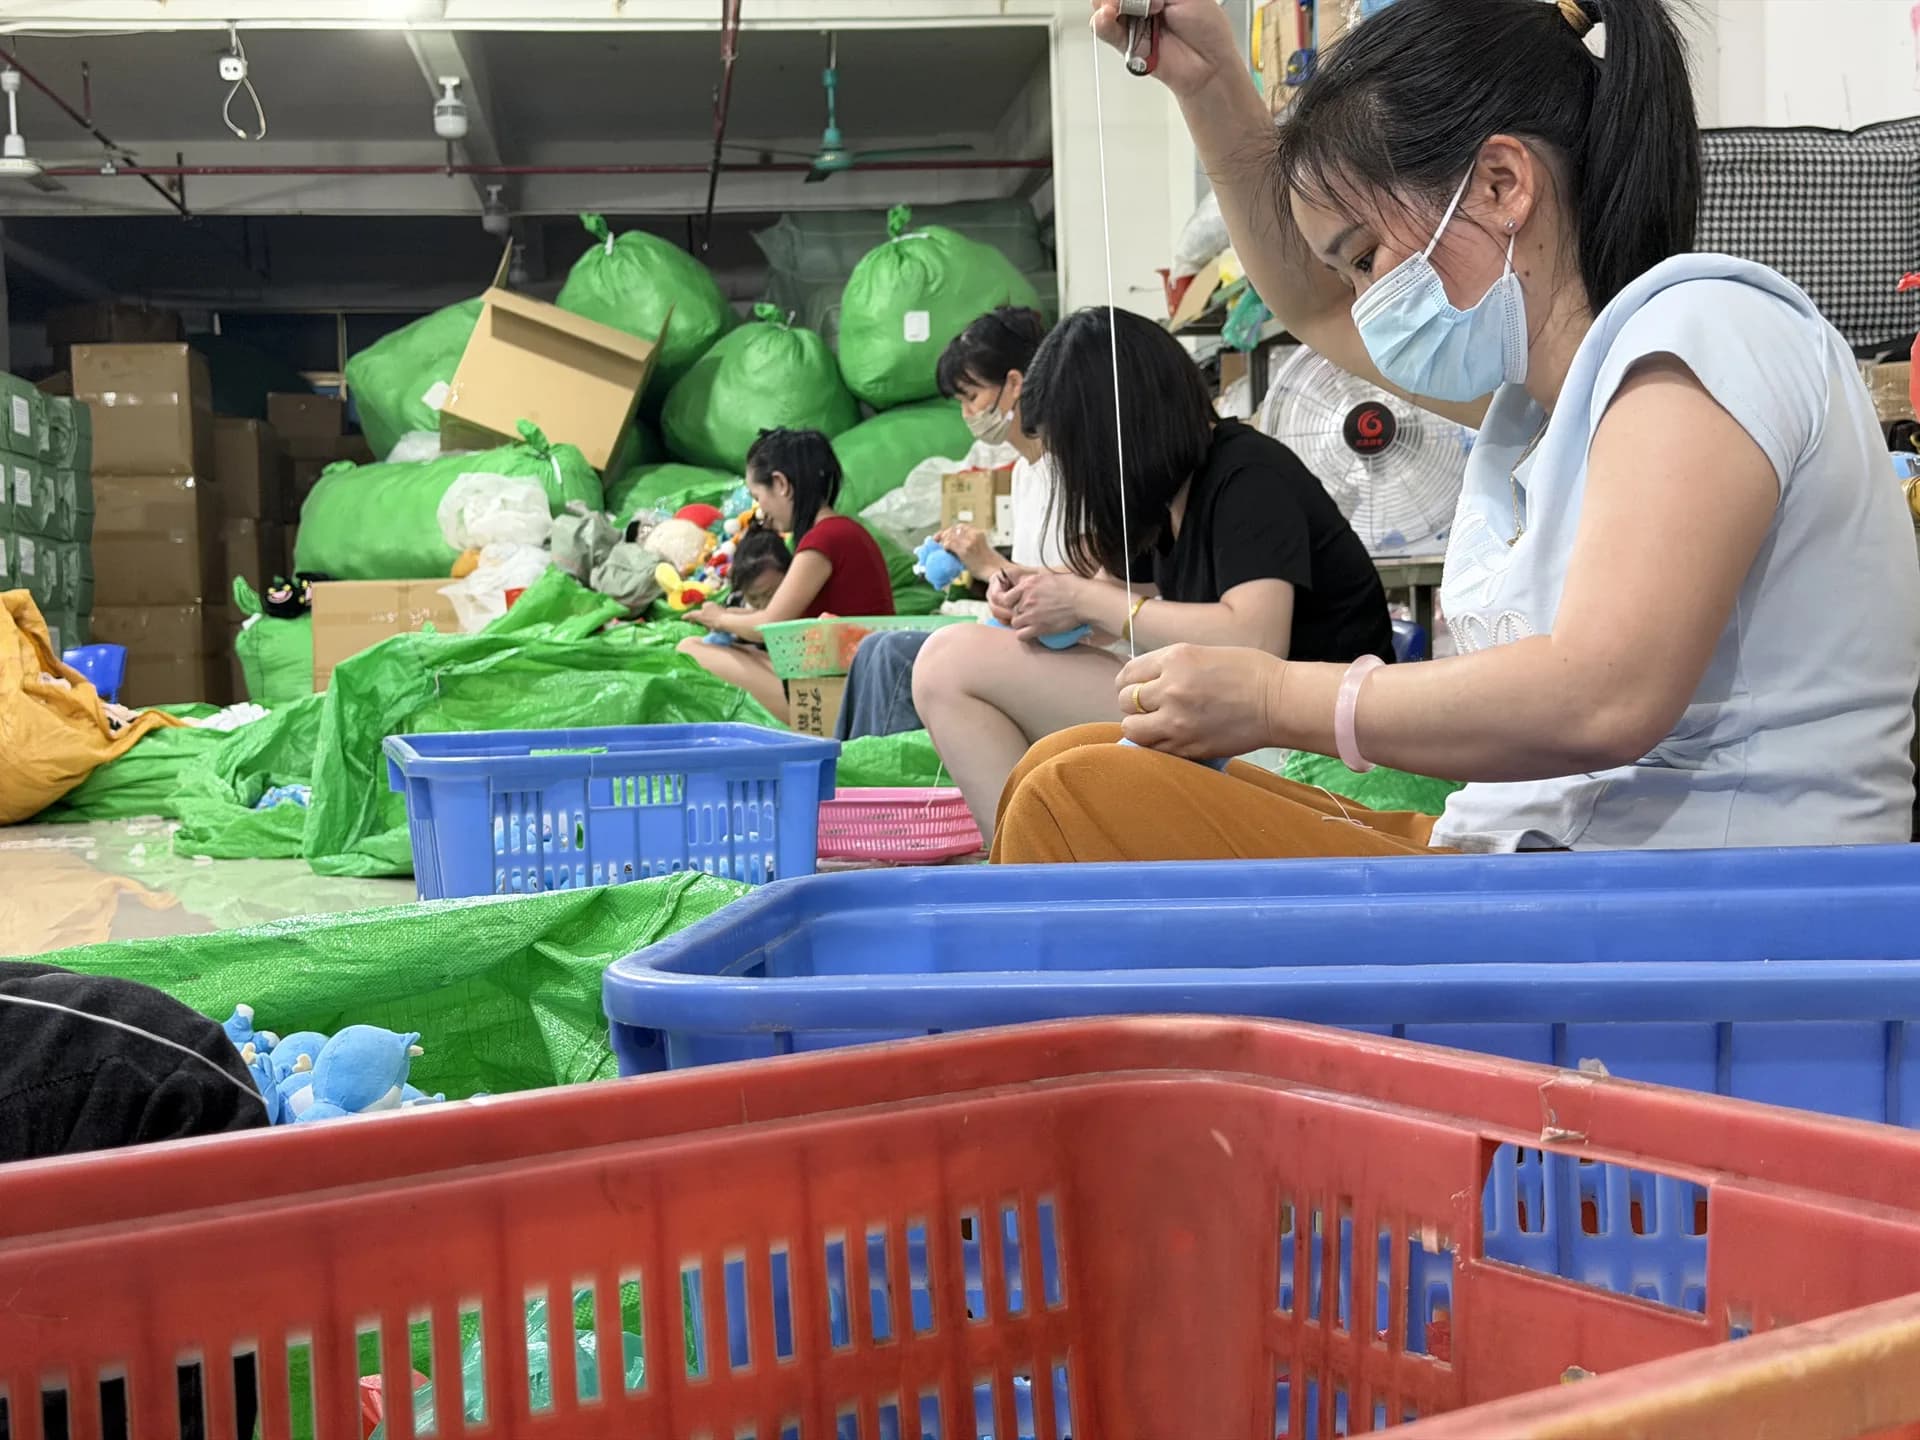
Bulk sewing happens on industrial machines, with one sewer typically responsible for one assembly stage (e.g. one sewer does heads-to-bodies, another does limbs, another does final closing). This division-of-labor pattern is consistent across well-run factories and is what makes a 1,000-unit-per-day floor possible.
Accessory-attachment happens in this step too: embroidery (digital embroidery machines), applique, eye/nose attachment (with safety locks for kid-safe SKUs), label sewing, hangtag string-tying. Every accessory is pull-tested against the EN71-1 70N standard at the in-line QC station.
Production floor — sewing room overview at our Shenzhen workshop.
Step 7 — Stuffing and QC
Stuffing is more technical than it sounds. The fiber (typically polyester / recycled PET) is fed into the plush via a high-pressure stuffing machine. The amount of stuffing is the difference between a unit that feels luxurious vs. one that feels dead. Good factories weigh every unit during stuffing and reject anything outside ±5g of the approved sample weight.
QC runs in three stages — anyone who tells you they have just one stage is doing visual-only and missing 5-10% defect rate at scale.
- In-line QC (during sewing): visual check, dimension check, accessory pull-test on every 50th unit.
- Pre-stuffing QC: seam integrity check, dirt / oil stains, embroidery alignment within ±2mm of sample.
- Final QC: weight check, eye/nose pull test on 100% of units, embroidery and label scan, finished dimension within ±5% of sample, then carton-level AQL 2.5 sampling.
Step 8 — Packing and shipping
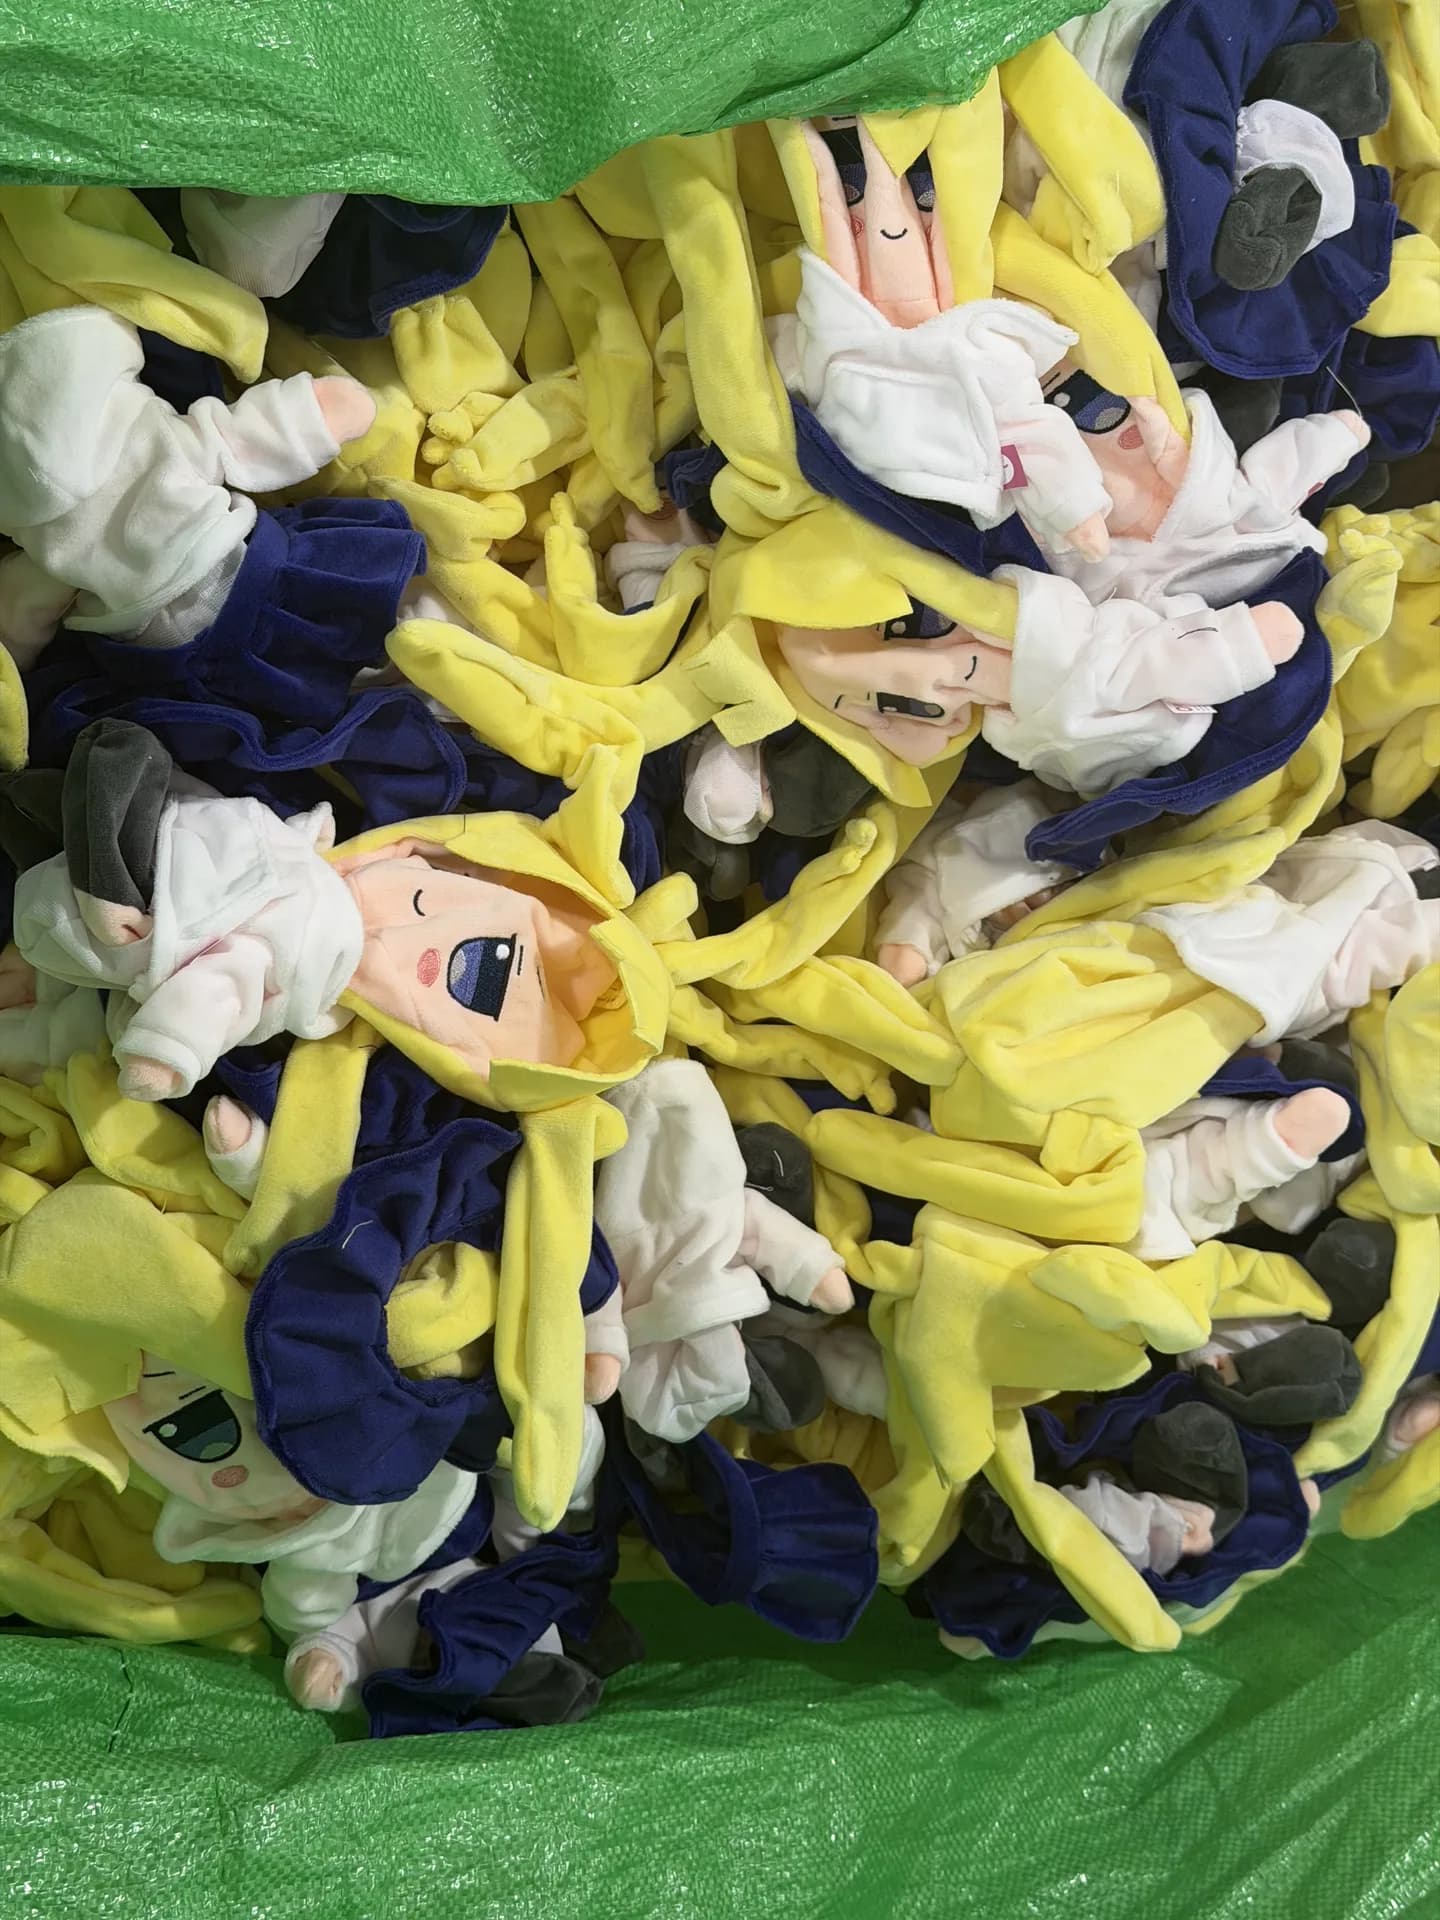
Each plush is shaken to settle stuffing, polybagged with a desiccant pack, and packed into master cartons (5-ply double-wall corrugated, sized for your retail packing or freight-only depending on spec). Cartons are weighed, labeled, and palletized for FCL (full container load) or LCL (less-than-container) freight.
Shipping terms matter here. You want to lock these on the PO under Incoterms 2020:
- FOB (Free On Board) — factory gets goods to ship's rail in Shenzhen; you handle ocean freight + import.
- DAP (Delivered At Place) — factory delivers to your warehouse, you handle import duties.
- DDP (Delivered Duty Paid) — factory handles everything end-to-end including duties. Most convenient, ~15% more than FOB equivalent.
For US imports, plush ships under HS code 9503.00.00 (stuffed toys representing animals or non-human creatures). Duty rate is 0% under current tariff schedule, but verify before each shipment because trade policy moves fast.
Where real projects break down
After 12 years and hundreds of projects, the failure modes are predictable. Watch for these:
- Iteration spiral. 5+ sample rounds usually means the buyer hasn't decided what they actually want. Pause, do a design lock-down meeting, then come back.
- Dye-lot drift. Bulk fabric arrives 8 weeks after sample; mill may have changed dye batches. Always sign off a new dye-lot swatch before bulk cutting.
- Stuffing inconsistency. Different shifts stuff to different densities. Weight-controlled stuffing eliminates this; ask if your factory does it.
- Mid-production scope creep. "Can we add a hangtag at this point?" — yes, but it adds 5-7 days and may bump your shipping window.
- Freight surprises. Sea freight rates moved 4x during 2021-22 and could again. Lock freight quotes 2-3 weeks before ETD, not on shipping day.
Manufacturing process is also covered by ISO 9001 for factories that have certified their quality management system — worth asking about, even if it's not strictly required. If your factory's 8-step process matches what's in this guide, you've picked a serious one.
Curious to see what real bulk runs look like coming off this exact process? Our portfolio has 30+ finished case studies from brand mascots to anime IP plush. When you're ready to start a project, the quote form gets you to a real person within 24 hours.
Written by
Jesse Wong
Founder & Production Lead, CozyPuff · 12+ years in custom plush manufacturing
Twelve years on a Shenzhen plush factory floor — first as a pattern-maker, then running QC for two OEM brands before founding CozyPuff in 2013 around fair pay, low MOQ, and direct-from-factory B2B plush.